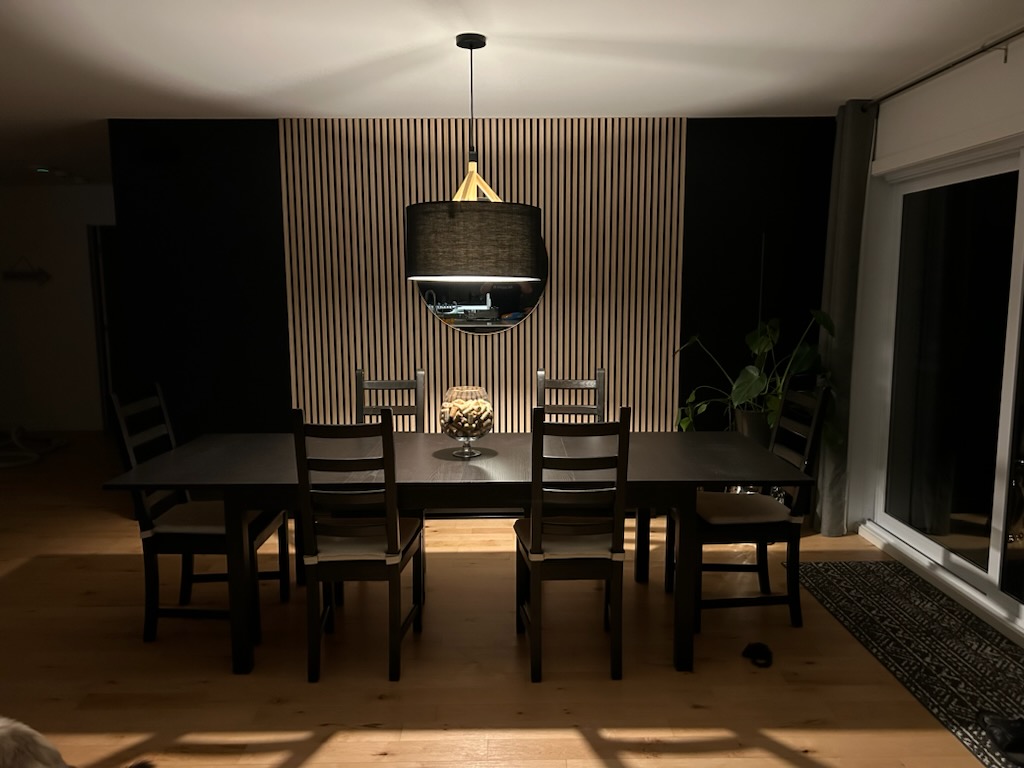
4 steps to installing cleat panels
Interior design is an art that reflects not only our personal style, but also our quest for comfort and harmony in our living spaces.
Among current trends, the installation of cleat panels stands out for its ability to fuse modern aesthetics with the natural warmth of wood.
These simple yet elegant decorative elements bring unrivalled texture and depth to interior walls, instantly transforming the ambience of any room.
Whether you’re a seasoned do-it-yourselfer or an interior design enthusiast looking for new inspiration, this guide offers a complete dive into the world of cleated panels.
From surface preparation to installation and maintenance, discover how to successfully integrate this trend into your interior space for breathtaking results.
Installation of Interior Tile Panels
Adding batten panels to your interior can radically transform the aesthetics of a room, adding texture and depth with a modern touch.
Whether you’re an amateur do-it-yourselfer or an interior renovation enthusiast, this guide will walk you through the key steps to a successful and long-lasting installation of your cleat panels.
Step 1: Preparing walls for cleat installation
First and foremost, preparing your wall is crucial. Make sure the surface is clean, dry and smooth.
If there are any holes or cracks, use a filler to repair them. A well-prepared surface not only ensures easier installation, but also better adhesion of the cleats.
Step 2: Planning cleat spacing
A frequent question concerns the ideal spacing between cleats. Generally, a spacing of 30 to 60 cm is recommended to balance aesthetics and functionality.
For screens or partitions, leave a 5 to 10 cm gap between each batten to create privacy while allowing light to pass through.
Step 3: Fixing the cleats without drilling
For those who don’t want to drill holes in their walls, there are several solutions. The use of double-sided adhesive tape designed for the specific weight of your cleats is an option.
Be sure to choose high-quality adhesives to ensure a long-lasting hold.
Step 4: DIY installation of cleat panels
The installation of your panels begins by measuring and cutting the cleats to the desired length. Use a spirit level to ensure perfect alignment.
Then fasten each batten using the chosen method, taking care to maintain consistent spacing across the entire surface.
Maintenance of cleat panels
Maintaining your cleated panels is simple but essential. Dust regularly with a dry cloth or vacuum cleaner fitted with a soft brush.
For stains, use a slightly damp cloth with a mild detergent.
Avoid aggressive chemicals that could damage the wood.
For those looking for specific materials or tools for their project, please visit www.meublessgl.com, where you’ll find a wide selection tailored to your interior renovation needs.
Why choose Tile Panels?
Cleated panels aren’t just aesthetically pleasing; they also offer unrivalled design flexibility, making it possible to create unique patterns that can be adapted to any interior style.
What’s more, their installation can contribute to the room’s acoustic insulation, by adding an extra layer of sound absorption.
By following these steps and tips, you’ll be able to successfully install cleat panels in your interior, adding a touch of modernity and warmth to your living space.
Remember that every project is unique, and taking the time to plan and prepare can make all the difference to the final result.
Thanks for reading! We hope this article has helped you!
To find out more about our products, contact us at 581-990-3635 or by e-mail at kassandra@meublessgl.com. We’ll be happy to advise you and, above all, create your project!


