Herringbone pattern: Tips and techniques
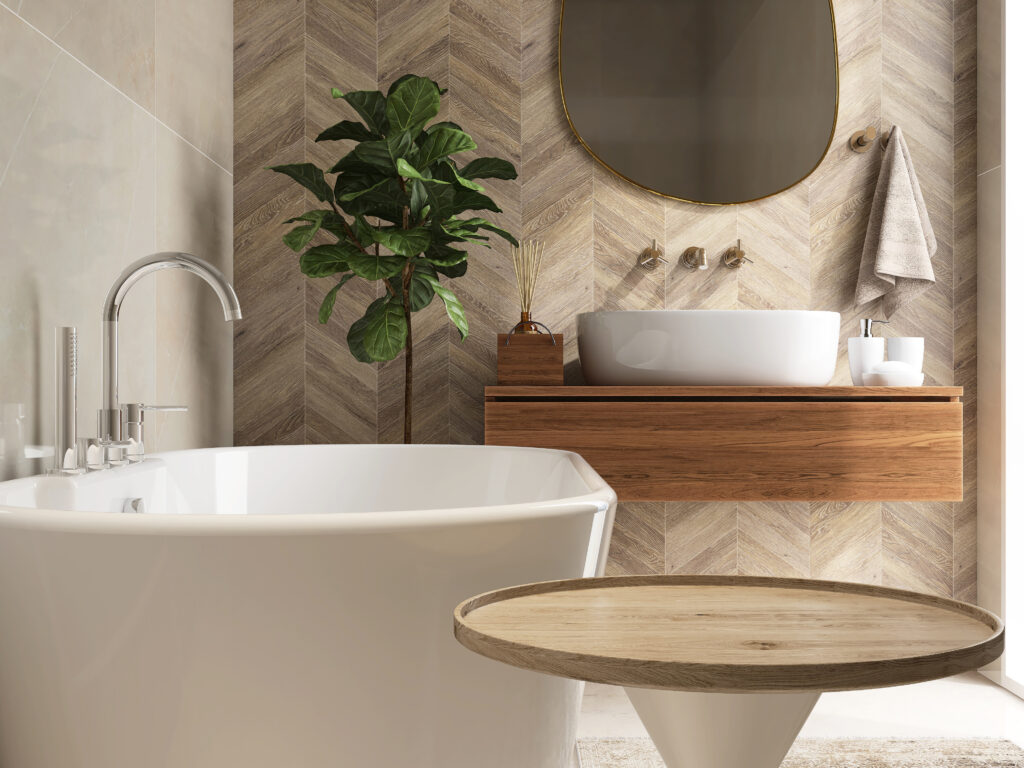
The current popularity of the herringbone pattern lies in its ability to blend classic charm with modernity.
Although rooted in a traditional or retro aesthetic, this style also appeals to modern designers with its dynamic allure and attractive design, particularly in contemporary settings where a taste for minimalism and purity, typical of Scandinavian design, often prevails.
Herringbone is a daring choice for those who wish to combine trend and timelessness, particularly when opting for grey wood cladding for an effect that is both modern and rooted in tradition.
The history of Herringbone
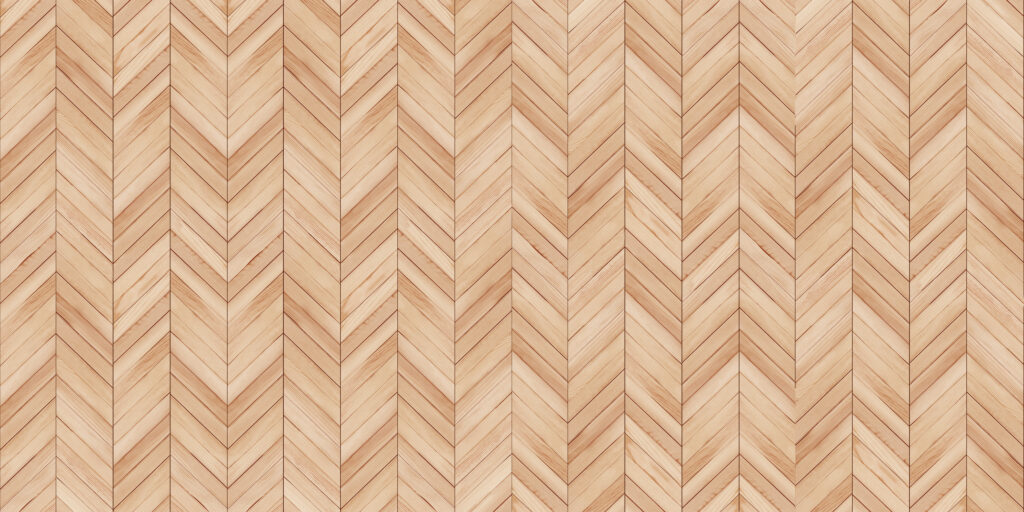
The herringbone pattern is a timeless classic whose origins date back to the Renaissance, as evidenced by its use in the François 1er gallery at the Château de Fontainebleau in 1539.
This timeless motif has stood the test of time, adapting to different styles of interior design, whether modern or more traditional, thanks to its simplicity and timeless elegance.
It brings a touch of sophistication and authenticity to any space, lending itself particularly well to environments steeped in history with darker shades of wood.
Choosing a wood floor or wall covering with the herringbone pattern can transform a space during a renovation or refurbishment, thanks to its long-lasting and much-appreciated aesthetic appeal.
At
SGL Furniture
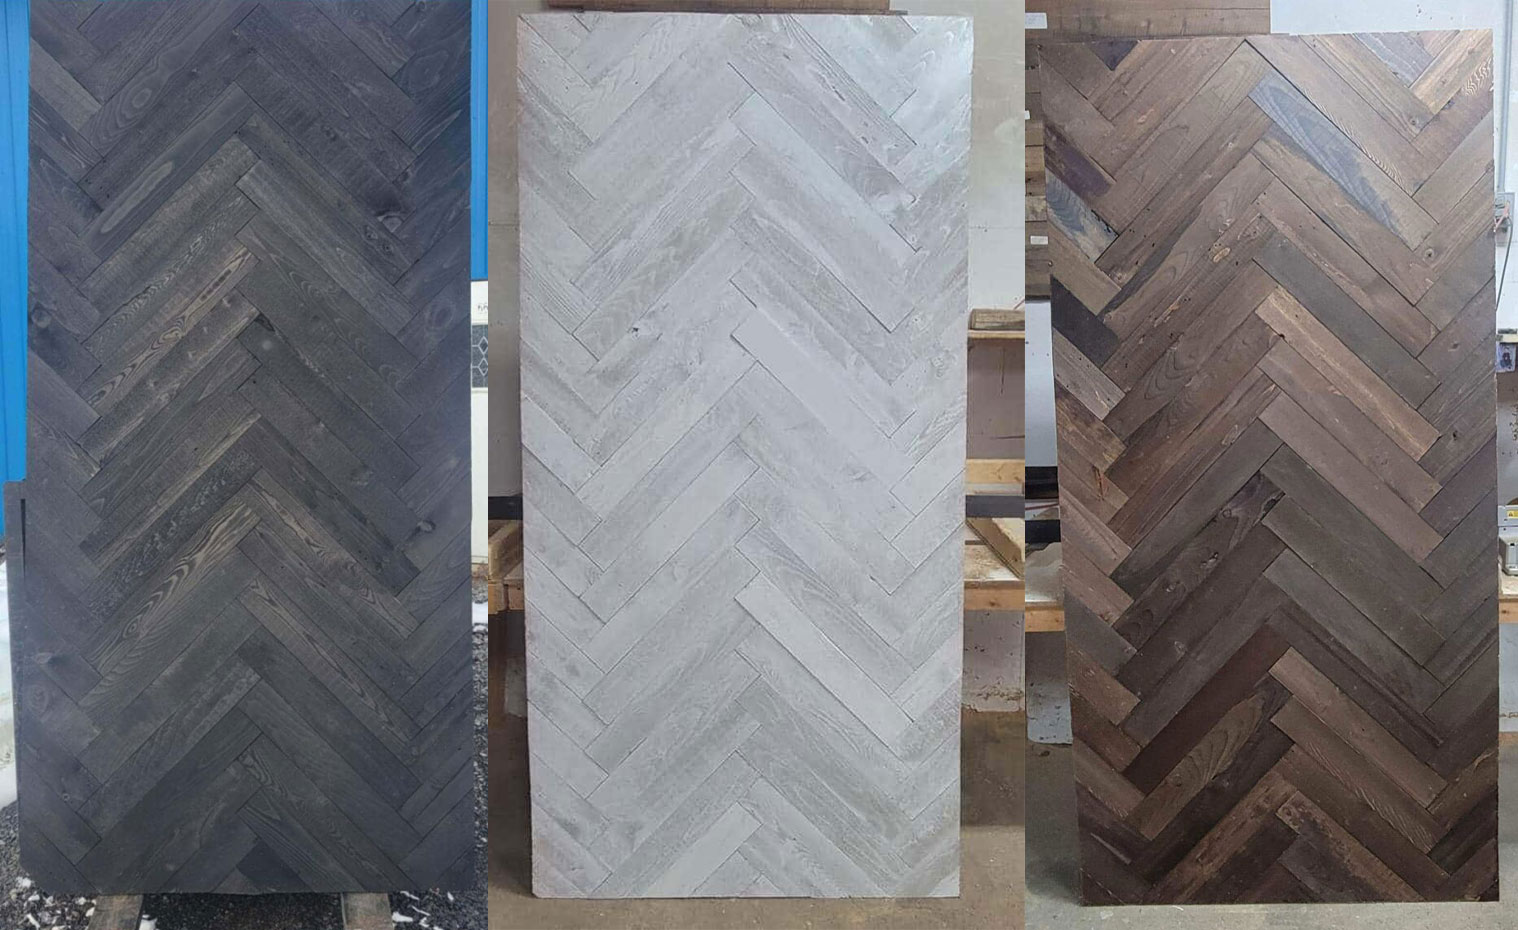
You can use 3 colors of herringbone: white, brown and black chevron. All are made of real, recycled wood. Herringbone is an environmentally friendly solution!
How do I calculate the quantity?
To calculate the number of tiles required, measure the area in square feet (length x width), add 10% for any losses, and round off to the nearest whole number of boxes. This method takes into account breakage and potential errors.
Laying a herringbone floor begins with determining the room’s center point, followed by dry-testing the tiles to visualize the pattern. The initial 45-degree angle is crucial for starting the installation, which continues by placing each tile at a 90-degree angle to the previous one, using spacers.
Mark and cut the required tiles, number them for easier installation, apply the adhesive and start fixing the tiles starting from the center, making sure they are evenly laid.
Keep in mind the importance of the right tools and careful installation to avoid differences in tile height. Precise measurement before cutting minimizes errors and ensures a harmonious finish.
In conclusion, installing a herringbone pattern floor is much more than just an aesthetic update for your space. It’s a choice that combines timeless elegance and modernity, bringing a touch of sophistication to any room.
Whether you opt for classic style or contemporary design, herringbone offers versatility and beauty that transcend trends.
By following the key steps and practical tips for successful installation, you can transform your living space into a place that’s both welcoming and refined.
Don’t forget the importance of careful planning and execution to ensure that your new floor is not only beautiful to look at, but also durable and functional.
Adopting the herringbone pattern means choosing a design heritage that continues to inspire and embellish interiors around the world.
Thanks for reading! We hope this article has helped you!
To find out more about our products, contact us at 581-990-3635 or by e-mail at
kassandra@meublessgl.com
It will be our pleasure to advise you and, above all, to create your project!


