7 tips for mixing wood tones
As people become more adventurous in mixing periods and styles in their homes, one of the perplexing questions we’re always asked is how to mix wood tones in a room.
Whether it’s matching a dining table to an existing hardwood floor or trying to mix several pieces of wood furniture, many people are reluctant to combine different woods in a space.
But first let us tell you that the era of matching furniture is over. Say goodbye to old-fashioned furniture sets, because mixing wood tones can be just as beautiful as mixing metals in a room.
The only trick is to follow a few foolproof rules.
The goal of design, when mixing colors and styles, is to create a continuity, a conversation or a story, if you will.
Paying attention to details like undertones, finish and wood grain makes it easier to mix and match with confidence.
Are you ready to try mixing wood tones in your own space? Here are the tips and tricks you should always follow.

Contrast furniture and flooring in the bedroom
If you’re feeling bolder, contrast is your friend. It may seem counterintuitive, but opting for high-contrast hues can actually work without a problem.
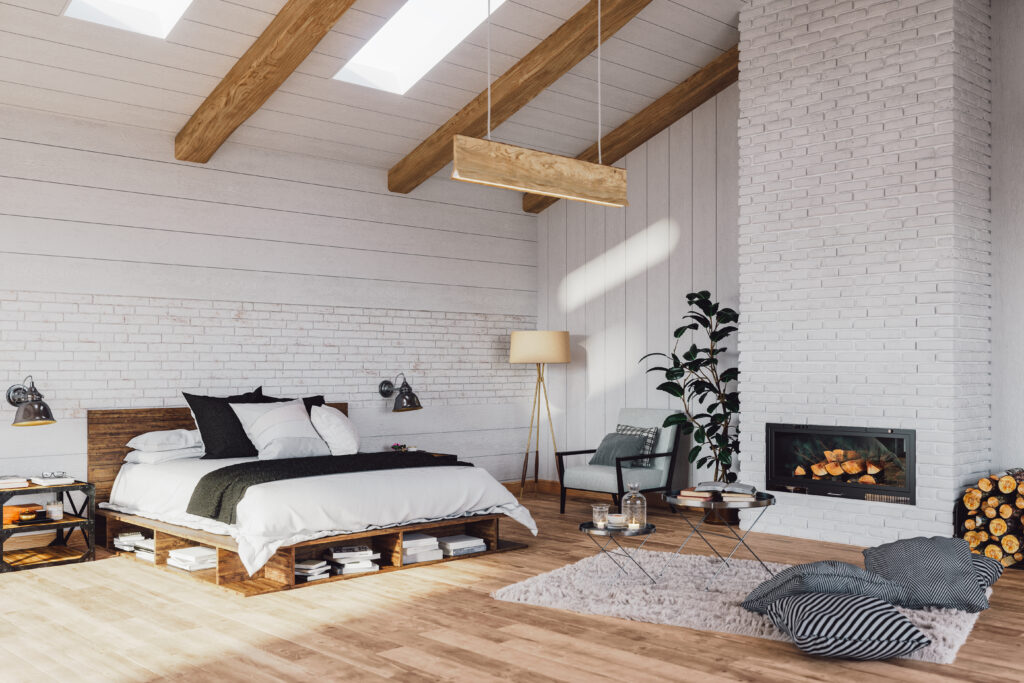
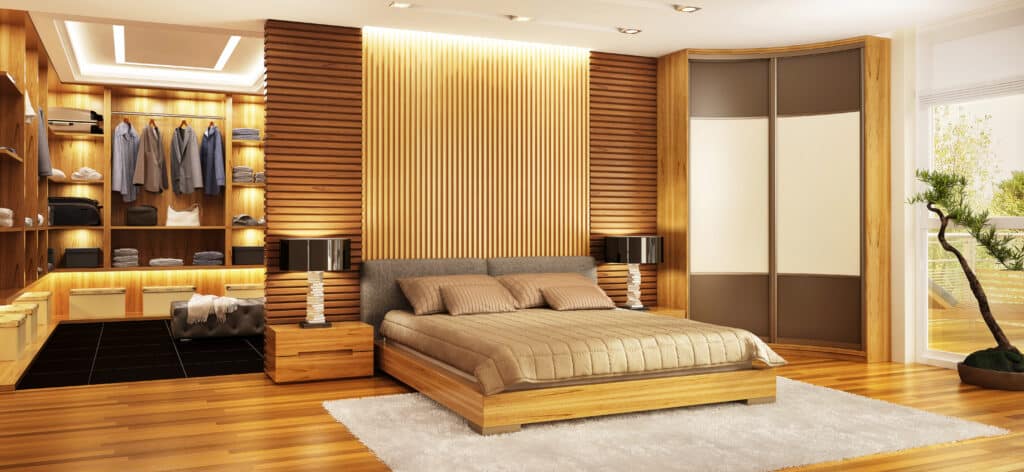
In the bedroom, for example, warm light wood floors can be complemented by a dark, almost inky walnut chair and lots of medium wood tones on the bed and storage cabinet.
Playing with contrasts adds visual interest and depth to a design, while repeating hues (such as warm wood floors and matching side chairs) gives continuity to the space.
Furniture can be lost in the backdrop of a wood floor of the same tone. Break up the monotony by pairing light-colored furniture with a darker floor.
Start with a bedroom anchor
A simple way to create impact is to use a large piece of wooden furniture, such as a storage cabinet or rustic armoire, as a starting point and mix two or three contrasting wood tones around it.
You can always experiment by changing the wooden accessories to see what you like.
Create a harmonious balance in the bedroom
To keep your room from looking unbalanced, balance the different wood finishes throughout your space. The darker furniture colors add depth to the room, allowing the whitewashed elements to have a greater contrast for an airy effect.

Choose a dominant wood shade
While mixing wood tones is perfectly acceptable and we encourage it, it’s always helpful to choose a dominant wood tone as a starting point to help you choose other pieces to incorporate into the room.
If you have wooden floors, your work here is done!
They are your dominant tone. Otherwise, choose the largest piece of furniture in the room, such as a desk, chest of drawers or dining table. When choosing your other wood tones to add to the space, always consult your dominant tone first.
Nothing says you have to be crazy to mix wood tones, especially if you don’t feel like you’re in your element.
Create continuity with an accent color
If you’re worried that your mismatched wood grains have gotten out of hand, tie the different finishes and styles together with an accent color.
We used our accessories – cabinets and stools – to create a harmonious flow of color.
Harmonize the undertones.
Another helpful tip for mixing wood tones is to match the undertones between different pieces. Just as you would when choosing a new makeup, determining the undertones first can make all the difference.
Pay attention to whether your dominant wood tone is warm, cool or neutral, and stay within the same family to create a consistent thread.
Create continuity with the finish
If you have a wide range of wood tones, it can be helpful to create continuity with similar wood grains or finishes. For example, most of the finishes in this room are matte or eggshell with a rustic grain finish, so the room looks cohesive.
If your wooden floor or table is shiny, do the same and choose side tables or chairs in a glossier finish.
Thanks for reading! We hope this article has helped you!
To learn more about our products, contact us at 581-990-3635 or by email at kassandra@meublessgl.com, it will be our pleasure to advise you and especially to create your project.
See you in our next article!

